The first thing I did when entering Maya was experiment with making the sword handle. I created a cylinder and used the extrude tool to make eight of the outer faces stick outwards, I then used the twist tool to make them twist around the cylinder. These faces are what would later become the eight necks of Yamata No Orichi.
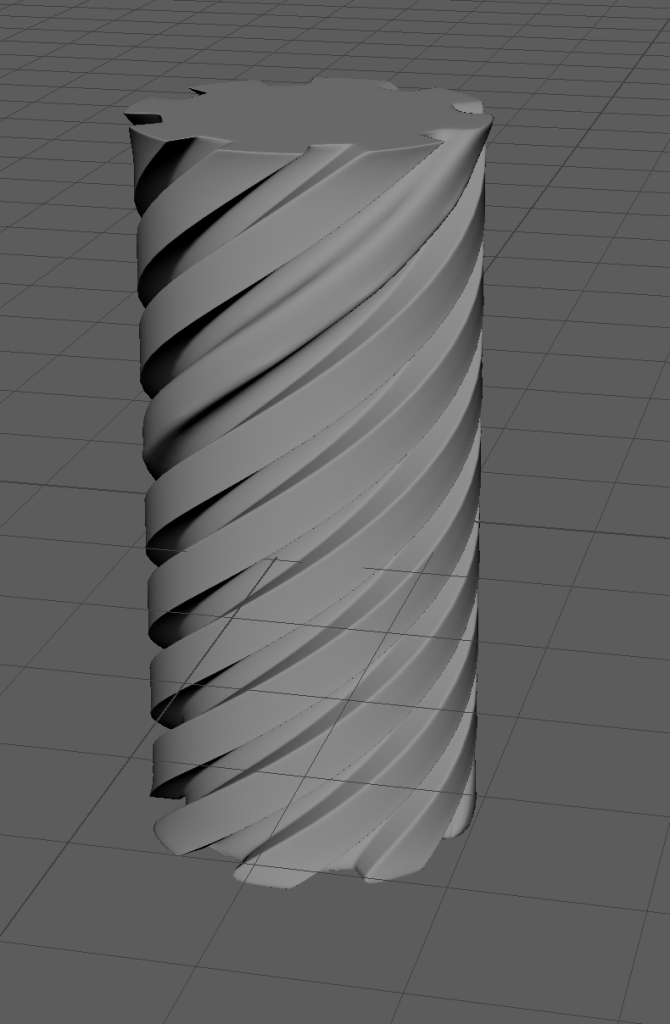
I then manipulated the vertices to cause the handle to start thin and get thicker as it went along and also experimented with support loops to make the eight necks more curved and circular. Eventually I had something like this and at the time was happy with the result.

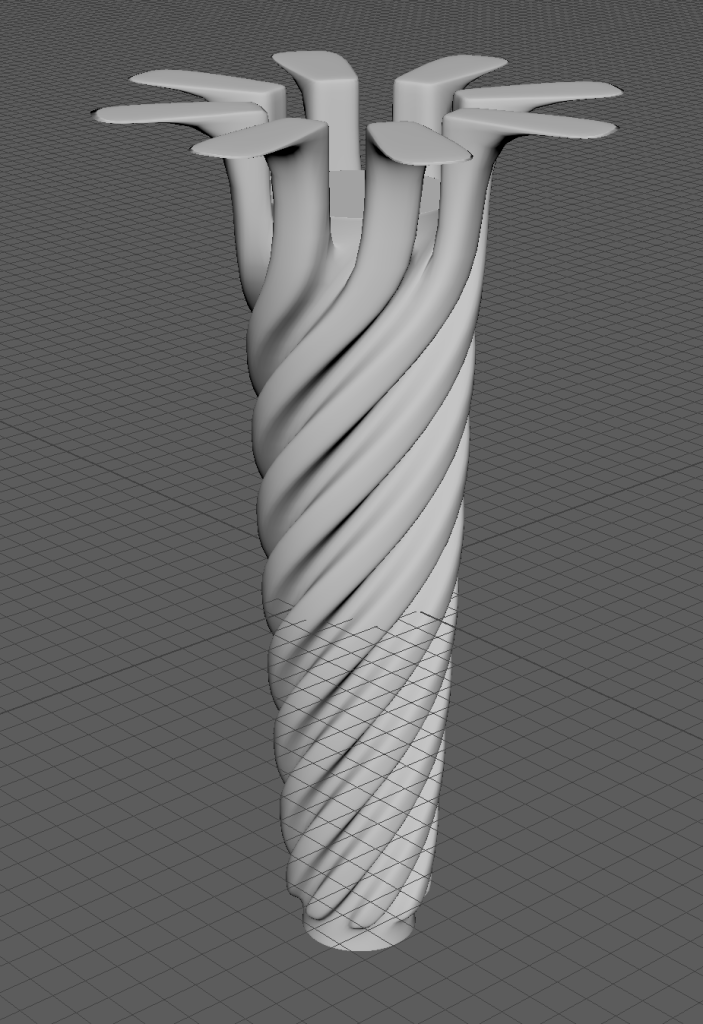
After this I got to work on creating the basic shapes for the heads. I extruded the top faces of the eight necks upwards and then extruded them all again outwards. This caused the necks to spiral above the handle and have these eight platform looking things which is where the heads would be located and built upon.
Around this time I decided I didn’t like how deep the spaces between the necks were and re designed the handle. This is the new handle and the old one side to side.

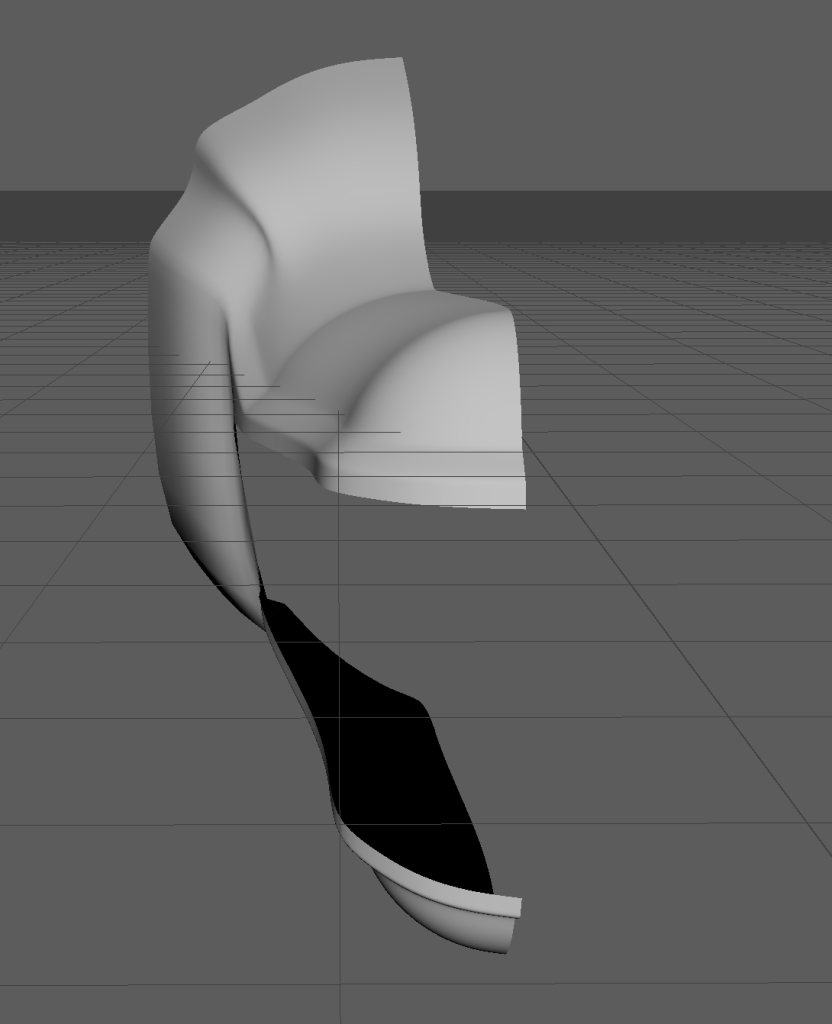
Now was the time to start properly working on the dragon head, I decided to only make one and then copy and paste it seven times however despite this the dragon head was still by far the most time consuming and frustrating part of the development process and took many failed attempts to get it right. Three whole dragon heads were lost due to me making the rookie mistake of not deleting my history and this caused me to lose days of progress, below are two of the heads I made and what happened to them.


As far as I’m aware these meshes were unsalvageable and at this point I was immensely frustrated as time was quickly running out until the deadline. After doing some research I found the issue was me not deleting my history before exiting Maya and I never made the same mistake again from this point onwards. After taking a day to cool off I came back and started working on a new dragon head. Below are some screenshots from the development of this head.


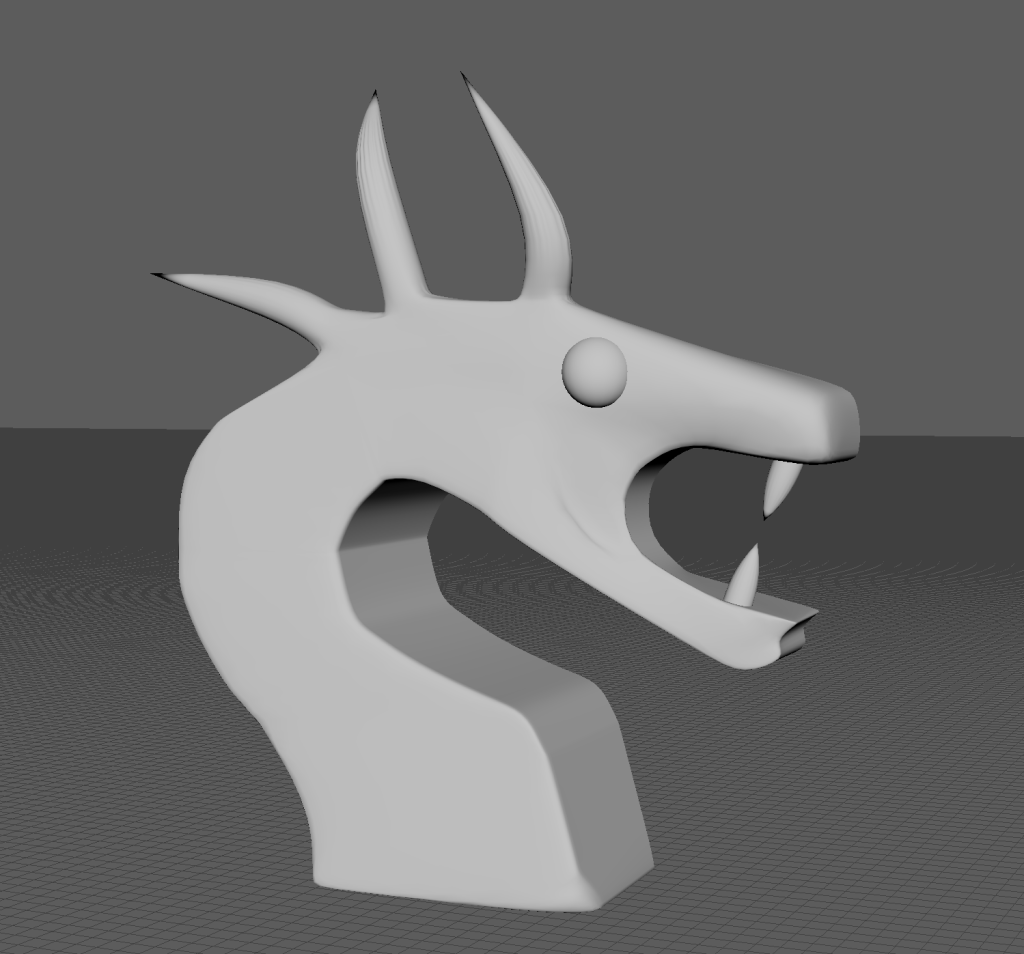
I stopped taking screenshots around this time but after a couple of days of working on the head I eventually ended up with this which I was very happy with.
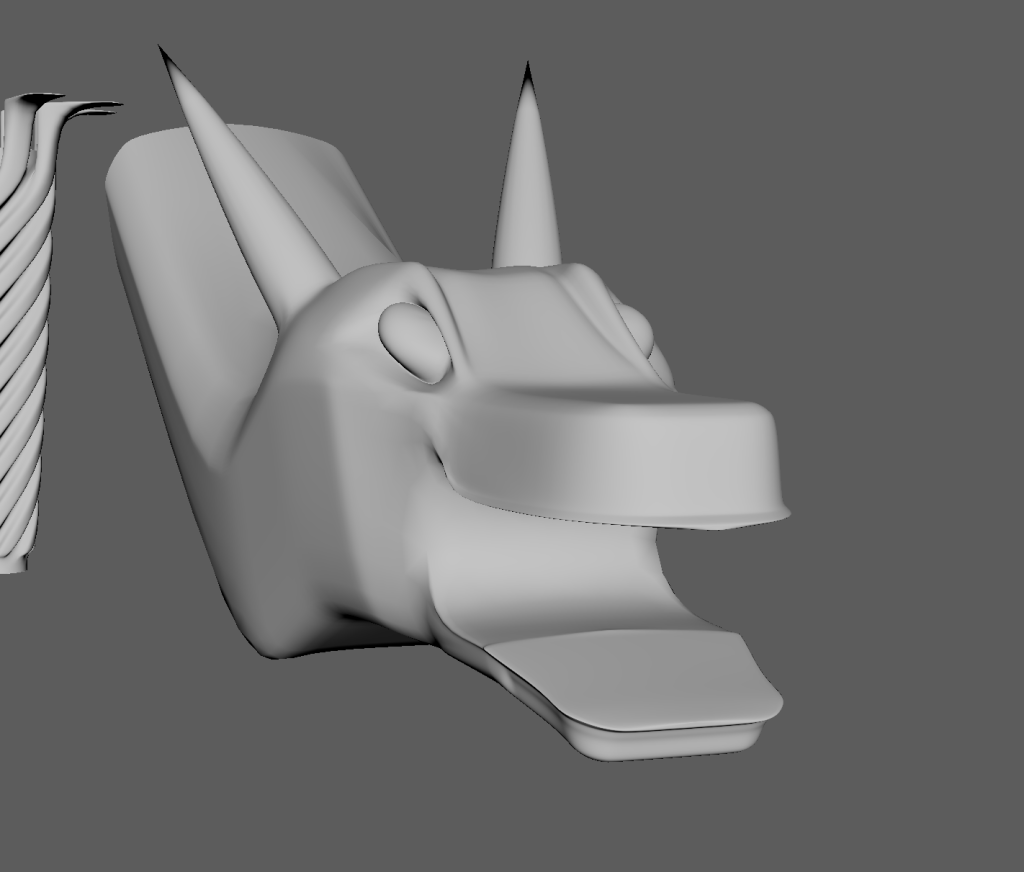
I spent another day further refining the head until I was happy with it. Part of me is almost glad I lost the first few heads, as despite losing days of progress I think this dragon head is way better than the others I made and I am very proud of the final result. However as the dragon heads are relatively a small part of the overall asset I feel I may have spent way too long on them as I was left with little time to finish the rest of the asset afterwards.

Straight away I got to work on getting the dragon heads connected to the handle. I did this by combining them into one mesh and then merging the vertices in the right position.

After connecting the first dragon head I decided that having eight heads cramped all around in a circle like that didn’t really look right and I wasn’t happy with it. It was here that I decided to turn the asset into a twin blade rather than a sword and have four heads on each side rather than all around one.

I connected the eight heads and was happy with the result. Unfortunately I did not have time to make the middle of the weapon look like a sun like I originally intended so had to settle with just a basic sphere.

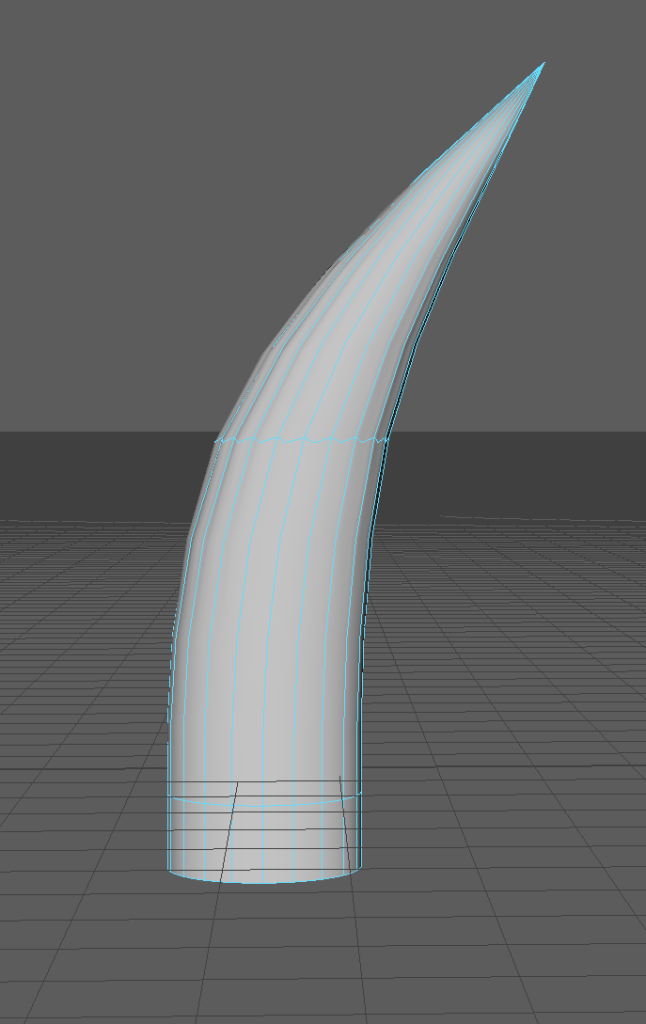
Now it was time to make the blade. I used this image from Dark Souls 2 as inspiration to get the curvature of the blade right.

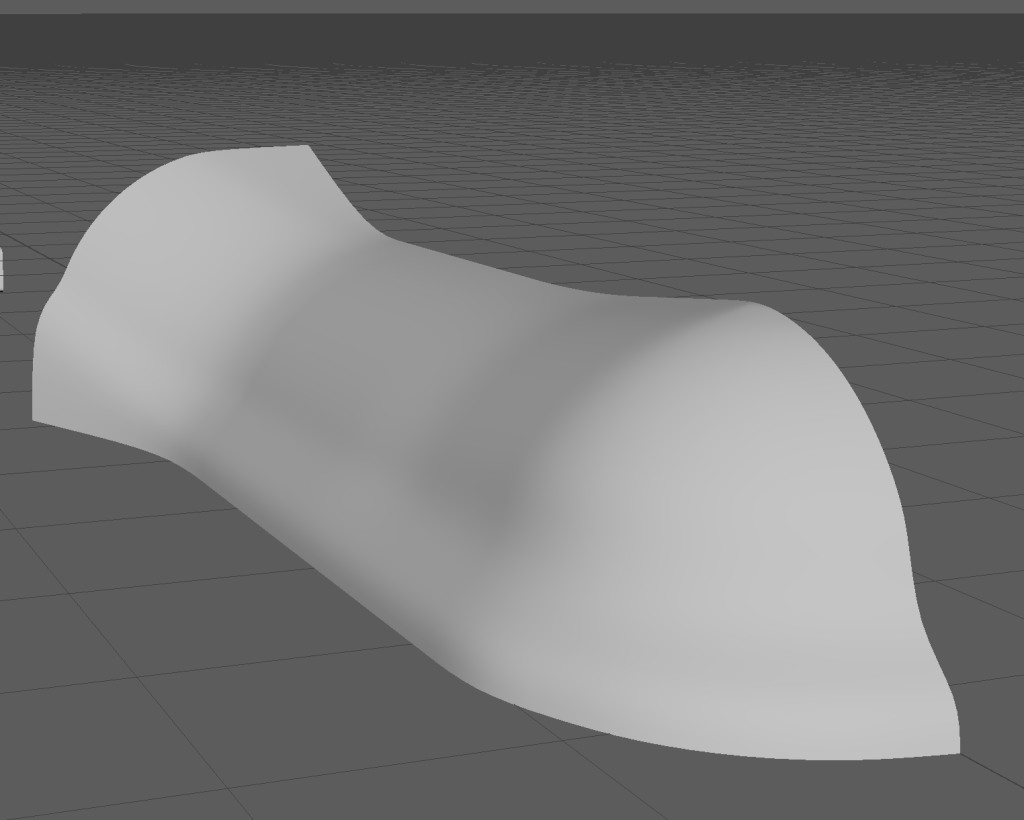
I then also looked at images of waves on google and used them as inspiration for the main shape of the blade. Eventually I ended up with this and was very happy with it


Unfortunately I didn’t have time to make a low poly version of the asset and I also struggled with unwrapping the UVs which caused some problems in Substance Painter but I still managed to get it done. In substance Painter I created a wood looking material for the handles and used the polygon fill tool to make the spaces between the wood black. Due to the UVs not being properly unwrapped I couldn’t do this all the way across as the it got distorted on both far ends of the handle. I made the blades blue to represent water and also added some dirt textures on the roughness to add detail.
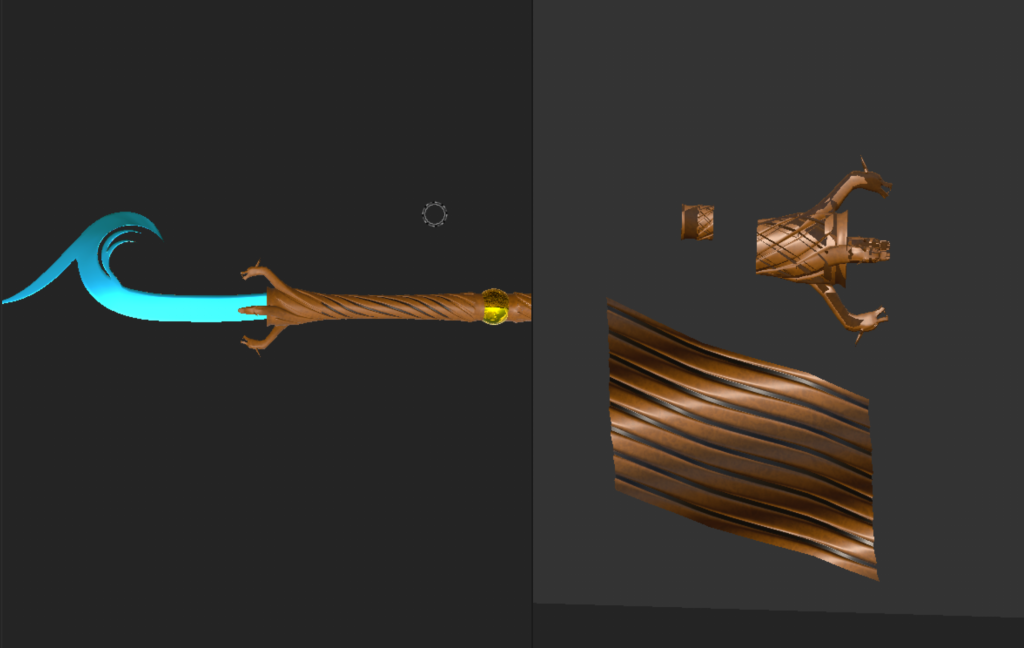
This is the finished result:

0 Comments